ProDrop: Volume 5 Tutorial for Final Cut Pro X
Learn how to create and customize your own pixelated backdrop with the ProDrop: Volume 5.
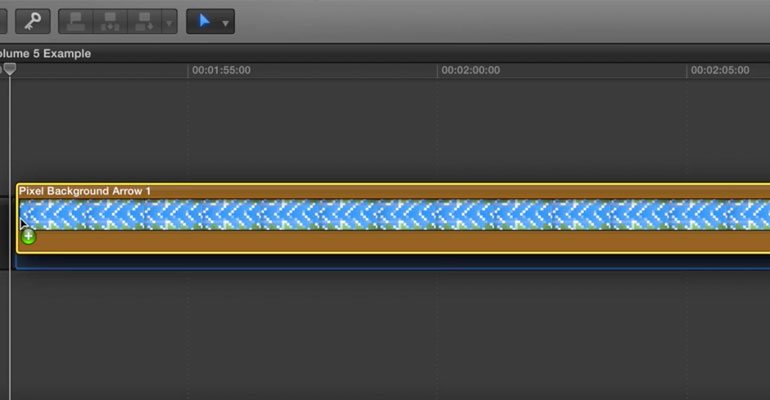
STEP 1 - Preparing the Timeline
Let’s begin by locating ProDrop: Volume 5 in the Generators Library. For this example we will be using the Pixel Background Arrow 1. Drag the generator to your timeline. Select the generator and go to the Inspector Window.
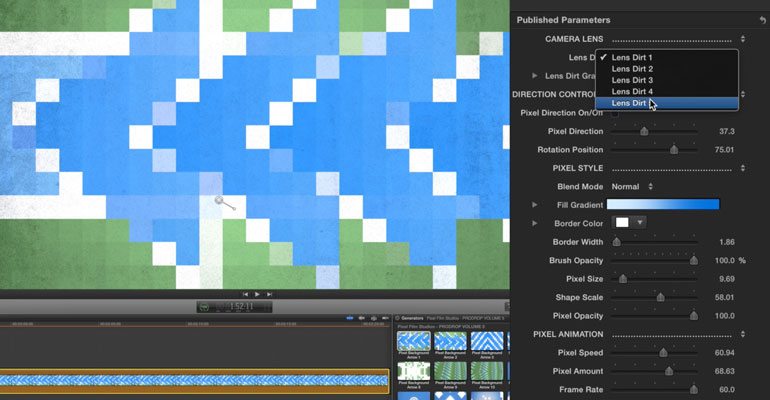
STEP 2 - Camera Lens Controls
First start by adjusting the Camera Lens controls. Begin by selecting one of the five lens dirt styles. Then adjust the Lens Dirt Gradient. Select a color for the dirt gradient. Click any of the colored squares on the bottom of the color bar. Once you have a colored square selected you can now change the color of the background. There are red, green, and blue sliders along with an opacity slider for each color option so you can get the exact color you want. Underneath you have an interpolation option and a location slider. The location slider will allow you to control the coverage of each color that is present in your background.

STEP 3 - Direction Controls
Next is the Direction Controls which will allow you to alter the Pixels Direction, Rotation and position. Leave the Pixel Direction check box blank for now. Underneath is the Pixel Direction Slider where it will be randomly positioned and rotated each time you move the slider. Now click the Pixel Direction checkbox This singles out a handful of pixels so you can see what you are adjusting. Start adjusting the Rotation Position slider. With this slider you can adjust how the pixels are stacked.
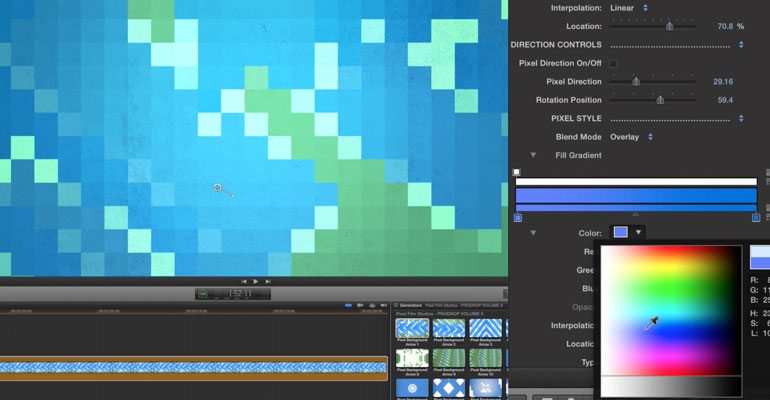
STEP 4 - Pixel Style Controls
Now let’s move on to the Pixel Style controls. First start by choosing a blend mode. Next you can customize the colors by adjusting the fill gradient. Click on the colored boxes on the bottom of the gradient to alter the color. The middle slider controls the coverage of the 2 colors you have chosen above. You then have the option of changing the type of your color between linear and radial. The Linear type will give you one solid color while radial will give a range of color. After choosing a type you can adjust where the color type starts and ends. Underneath is the Border Color, Border width, Brush opacity, and pixel size. The Brush Opacity controls how intense the border color will be. Once you have those controls adjusted continue by adjusting the shape scale and pixel opacity.
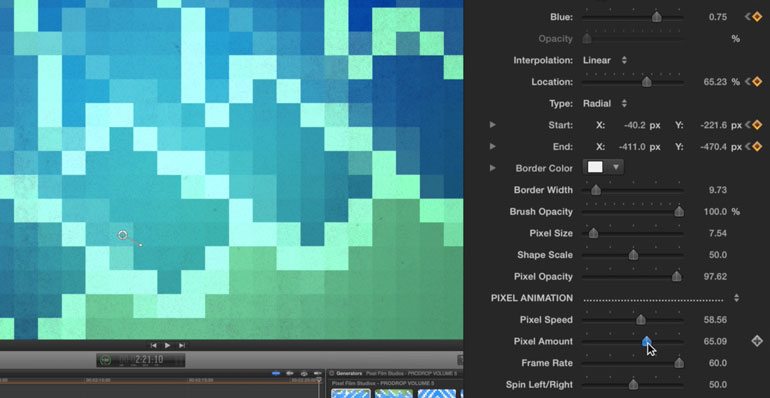
STEP 5 - Pixel Animation Controls
Next we have the Pixel Animation section. Begin by adjusting the pixel speed and pixel amount sliders. The Pixel Speed slider controls how fast your pixels will pixelate. The Pixel Amount sliders control how many pixels will appear on screen. After you can adjust the frame rate and spin left spin right slider. The Frame Rate slider controls the speed of the pixel movement per second.
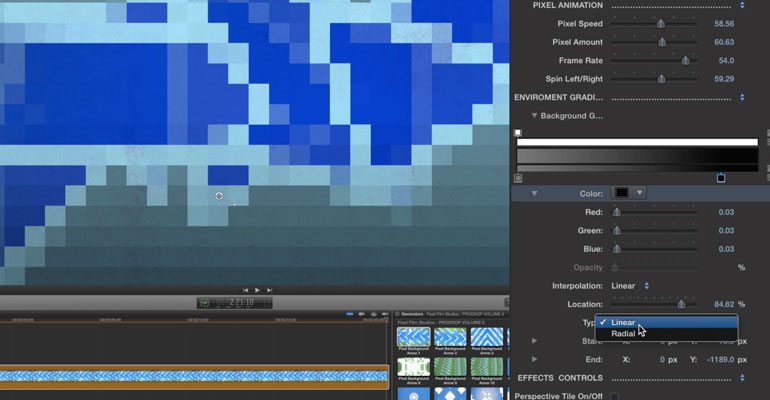
STEP 6 - Environment Controls
Once you have your pixel animation complete continue on to the Environment Gradient. The background gradient bar is controlled the same way the previous gradient bars were controlled.

Final Touches
In the Effects Controls you can bring your pixels to the next level by choosing to go with the Perspective Tile effect or Kaleidoscope effect. The Perspective Tile effect with put your pixelation preset into a variety of tiles. The Kaleidoscope effect can be adjusted by using the on screen controls in the viewer window. Click and drag the control puck to position the Kaleidoscope To rotate the click and rotate the smaller pin Adjust the Kaleidoscope spread by clicking and rotating the taller pin.