Description
Basic Lower Thirds with Pro3rd: Basics in FCPX
![]()
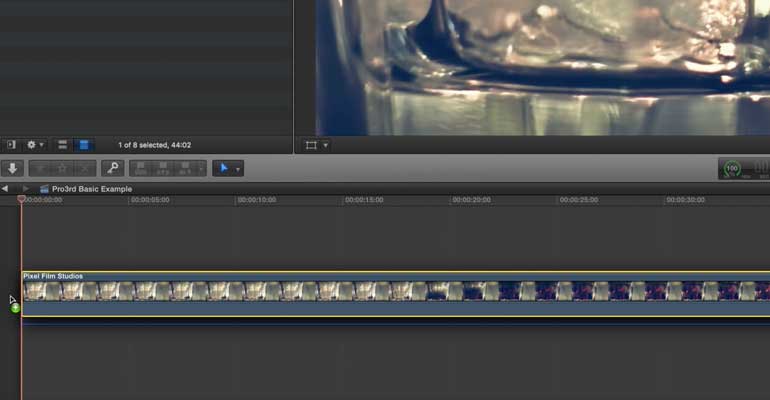
30 Self-Animating Presets
Pro3rd Basics is a set of minimalistic lower thirds that are completely self-animating. Pro3rd presets are completely easily and require no keyframes at all. Simply select a preset and drag it into the FCPX timeline. Next alter the text, colors, and element length settings to achieve the look desired. Pro3rd Basics will do the rest.
![]()
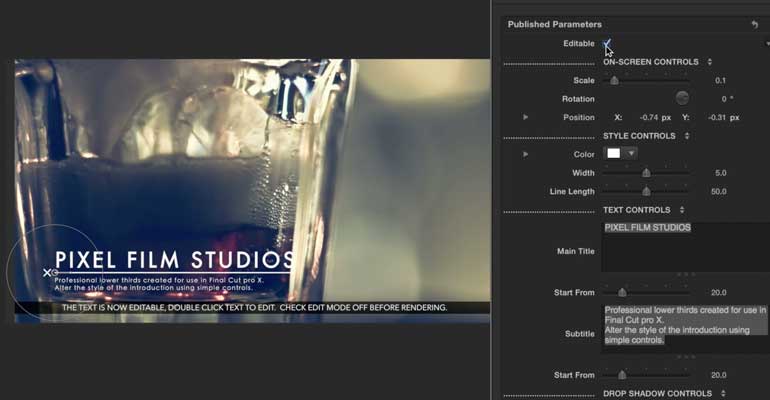
Intuitive On-Screen Controls
Pro3rd Basics provides video editors with on-screen controls to adjust the scale, position, and rotate of presets within Final Cut Pro X. Clicking the title preset will automatically toggle on the controls. Adjust the puck to control position and pull the ring to manipulate scale. Pixel Film Studios’ Pro3rd Basics is both highly functional and intuitive.
![]()
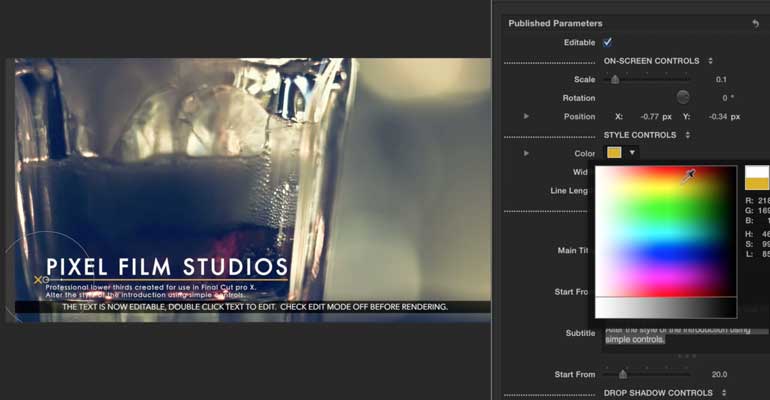
Simplistic Style
Pro3rd Basics features essential outlines, boxes, and accents to achieve a simplistic yet stylized look. Easily change the color of Pro3rd elements with color swabs and alter the length of thirds with intuitive slider controls. Pro3rd Basic is the perfect complement to any Final Cut Pro X production.
![]()
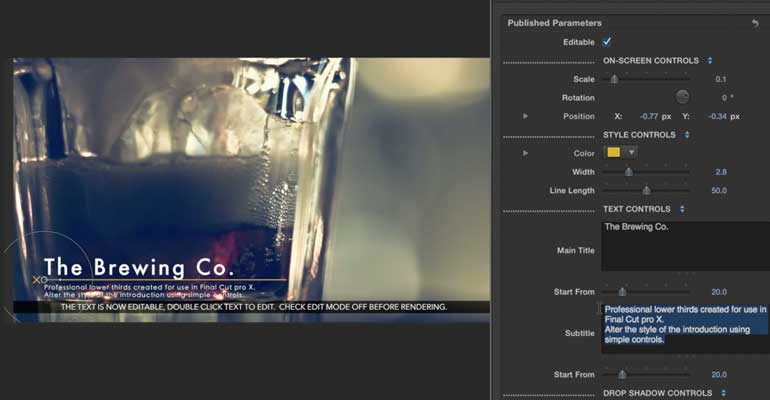
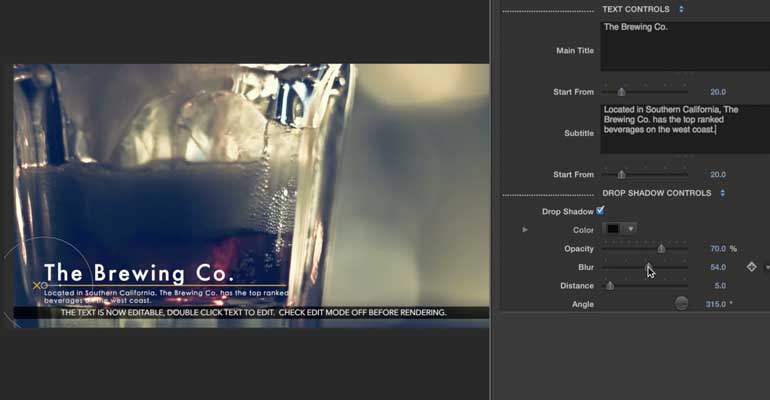
Final Cut Pro X Exclusive
Pro3rd Basics is completely customizable in Final Cut Pro X. Look toward the top-right of FCPX’s interface to locate intuitive parameters controls that are used to tweak the style of Pro3rd presets. Control the color, length, and width designs with color wheels and sliders respectively. Pixel Film Studios makes amazing easy in FCPX.