ProBeam Tutorial for Final Cut Pro X
Learn how to add epic or subtle beams of light to your film with the ProBeam Lesson from Pixel Film Studios.
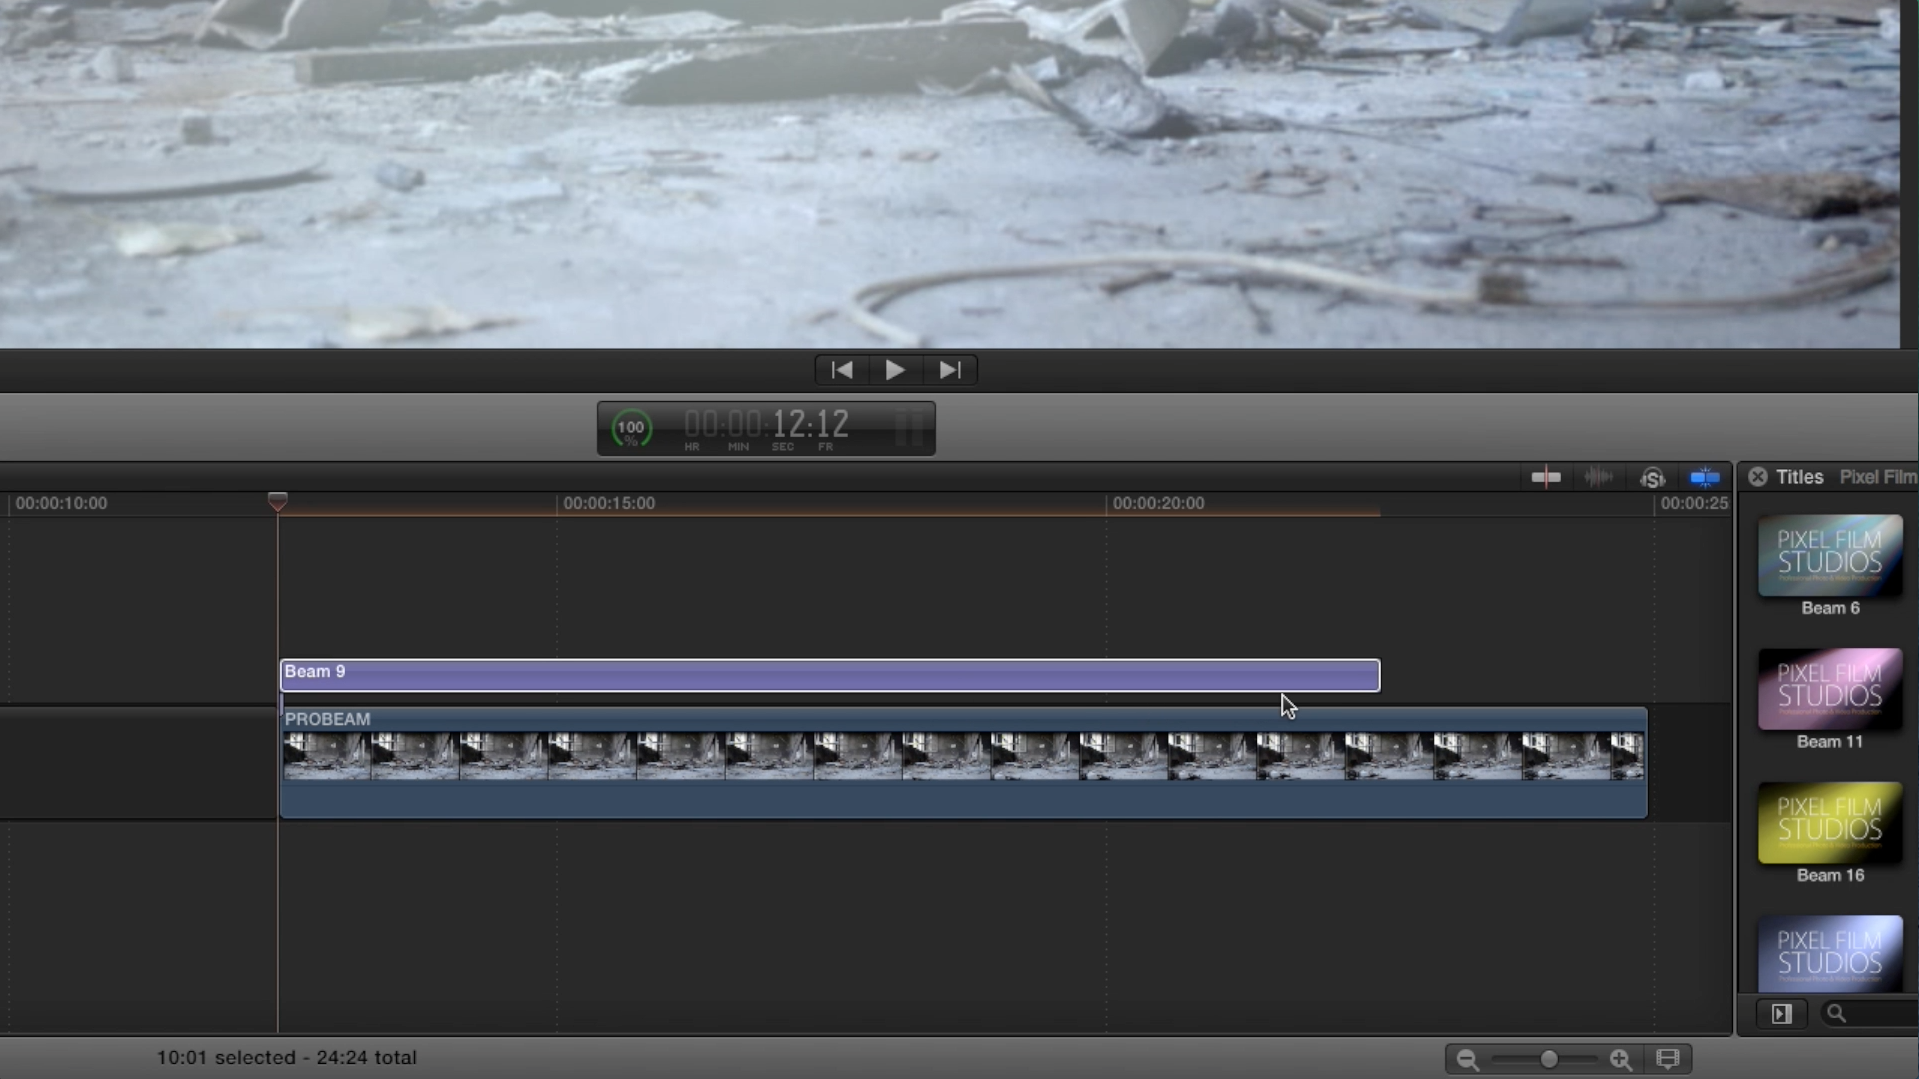
Step 1 - Preparing the Timeline
Let's begin by selecting a clip in the FCPX media library and dragging it to the timeline. This effect works best with steady shots that have little to no movement. Once, you have your footage in the timeline, go to the FCPX titles library to locate the ProBeam presets. Scan through the light types and select the one that best matches the look you want. Then, drag the adjustment layer above your footage on the Final Cut Pro X timeline and make it the same length as the clip.
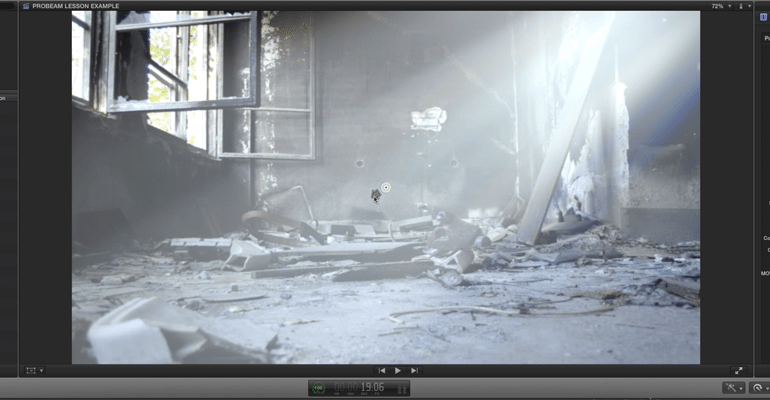
Step 2 - Positioning the Beam
Once you have the timeline setup, let’s position the light to where we need it. Select the adjustment layer in the timeline. Then use the on-screen control in the viewer window to adjust the angle and distance of the light. Now go to the FCPX Inspector window. Use the light distance slider to adjust the depth of the light beam in the scene. Then use the light source points to adjust the strength of the light. Finally, use the radius slider to control the horizontal spread of the beam.
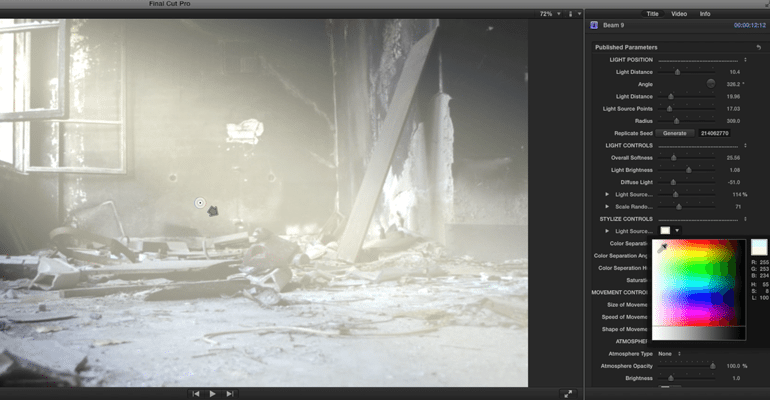
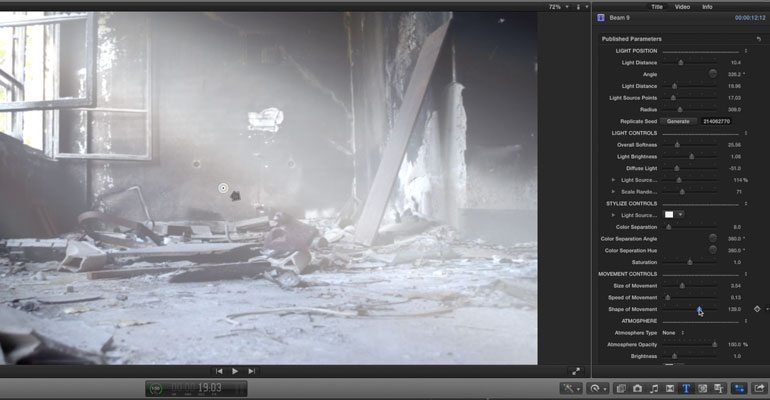
Step 3 - Customizing the Beam
Now that we have our beam where we want it, it’s time to customize the quality and color of the light. Go to the Light Controls section in the Inspector. Use the overall softness slider to make the individual beams more or less noticeable. Then use the diffuse slider to further adjust the horizontal spread of the beam. Next use the Light Source Scale and Scale Randomness sliders to adjust the size of the beams. Now scroll down to the Stylize Controls. Use the color picker to change the main color of the beam. Then use the color separator slider to give the impression that light is passing through a prism. Finally use the saturation slider to adjust the overall color intensity of your beam.
Step 4 - Customizing the Movement
Now that we have our light looking the way we want it, let’s adjust the movement settings to give the illusion that there are objects passing in front of the light. This is a great way to create light passing through water or branches. Use the movement size, speed and shape sliders to your liking.
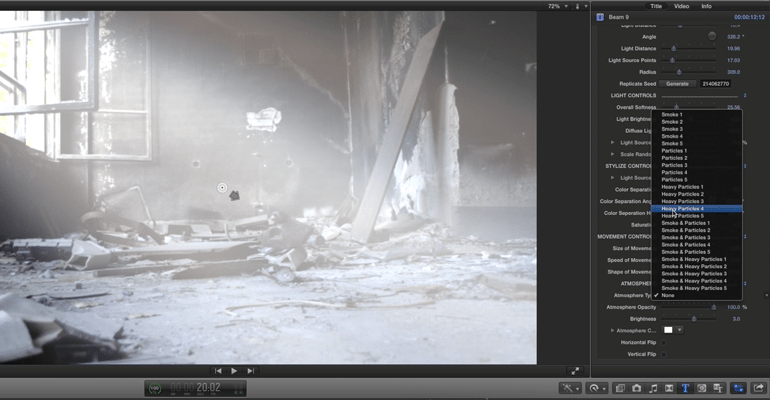
Final Touches
Now for some Final Touches. Let’s adjust a few more parameters to fine tune our ProBeam. Scroll down to the Atmosphere controls section. Use the Atmosphere Type drop down menu to add some smoke or particles to the light. Then use the opacity, brightness, and color controls to blend the composite into the environment.