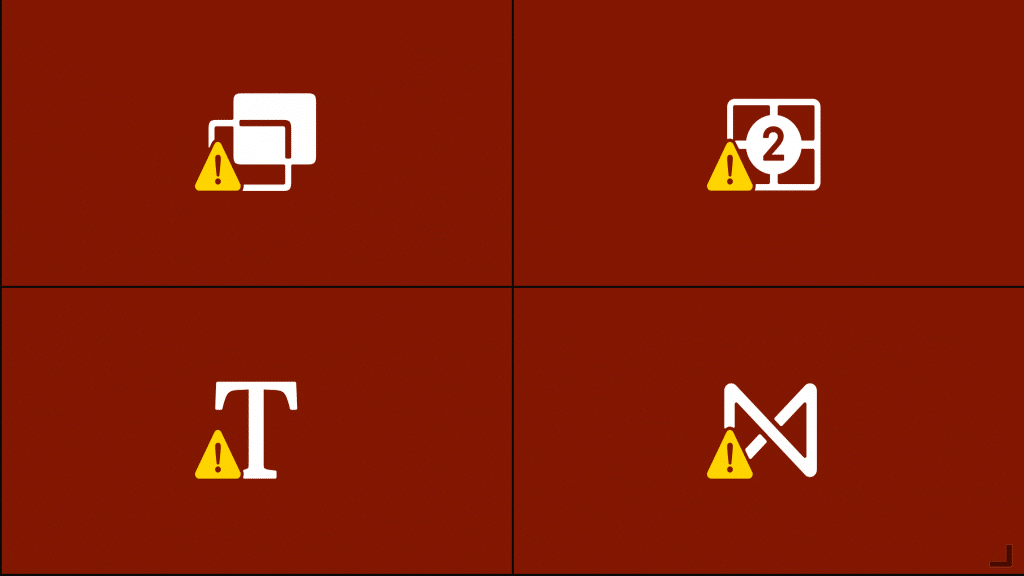
Red Screen in FCPX
If you are experiencing a red screen with any plugin in Final Cut Pro please try the following solutions.
Solution 1
Final Cut Pro & Mac OS Out of Date
The easiest and most common issue to solve Red Screens is by making sure that the Final Cut Pro and Mac OS versions are up to date to meet the minimum system requirements as stated on each product page.
Final Cut Pro updates are free in the Apple App Store.
Mac OS updates are free in the System Preferences under the Software Update tab.
Solution 2
Pixel Film Studios > Plugins
Check to make sure that you have your Pixel Film Studios and Plugins folder set up in your finder. Below is the file path for you to navigate inside of your Finder window.
📂 Macintosh HD > Applications > Pixel Film Studios > Plugins
If you do not have the Pixel Film Studios and Plugins folder these will need to be created.
Create the folders manually by navigating to the Library directory and pressing the command Shift+Command+N. This will add the folder inside of the Library. Rename the new folder to have the exact spelling as below.
Pixel Film Studios
Now select the Pixel Film Studios folder and press Shift+Command+N once more to create a new folder inside the Plug-Ins folder. Rename the new folder to have the exact spelling as below.
Plugins
After the Pixel Film Studios and Plugins folders have been set up like in the image below, re-download and reinstall your plugin. After a successful installation, you will see the necessary FxPlug apps populate in the Plugins folder.
Download and Run PFS FxRun
After successfully installing the plugin and seeing the apps populate in the FxPlug folder download and install the application called “PFS FxRun” by using the download link below. This application will reset the FxPlugs that our plugins use to function in Final Cut Pro.
To use the PFS FxRun you must first close Final Cut Pro. Then, simply double click the PFS FxRun app and it will launch all of your Pixel Film Studios related FxPlug applications.
*This feature is now built into the PFS App in the account settings under FxRun
You may see pop up windows or only quick flashes that appear to do nothing – this is normal. This is just the FxPlug apps re-launching to make sure Final Cut Pro can call to them during Final Cut Pro’s launch. If any pop up windows appear you may close them after the FxRun script has finished.
Open Final Cut Pro and check the plugin(s).
Manually Run FxPlugs
Alternatively, you can run the FxPlugs manually from the Plugins folder by selecting all PFS applications in this directory and then right clicking and pressing open to launch.
Again, you may see pop up windows or only quick flashes that appear to do nothing – this is normal. This is just the FxPlug apps re-launching to make sure Final Cut Pro can call to them. If any pop up windows appear you may close them.
Open Final Cut Pro and check the plugin(s).
Solution 3
Disconnect External Hard Drives
Make sure that no external drives are connected during the installation and that you are running the installer from the desktop or downloads folder.
Solution 4
Renaming Motion Templates
Red Screens can occur if the motion template folder and enclosed folders are not properly named. In this video, we will walk you through how to rename these folders.
Each of the of the following folders must be named with a .localized after the folder name.
Motion Templates
Effects
Generators
Titles
Transitions
If done correctly, the .localized will be invisible. You can first check if the folders are already localized by right clicking on each folder and pressing the Get Info option. Expand the Name & Extension and check to see if the folder has .localized written after the folder name.
If they are not, it is as simple as renaming the folder with the .localized after the folder name.
Motion Templates.localized
Effects.localized
Generators.localized
Titles.localized
Transitions.localized
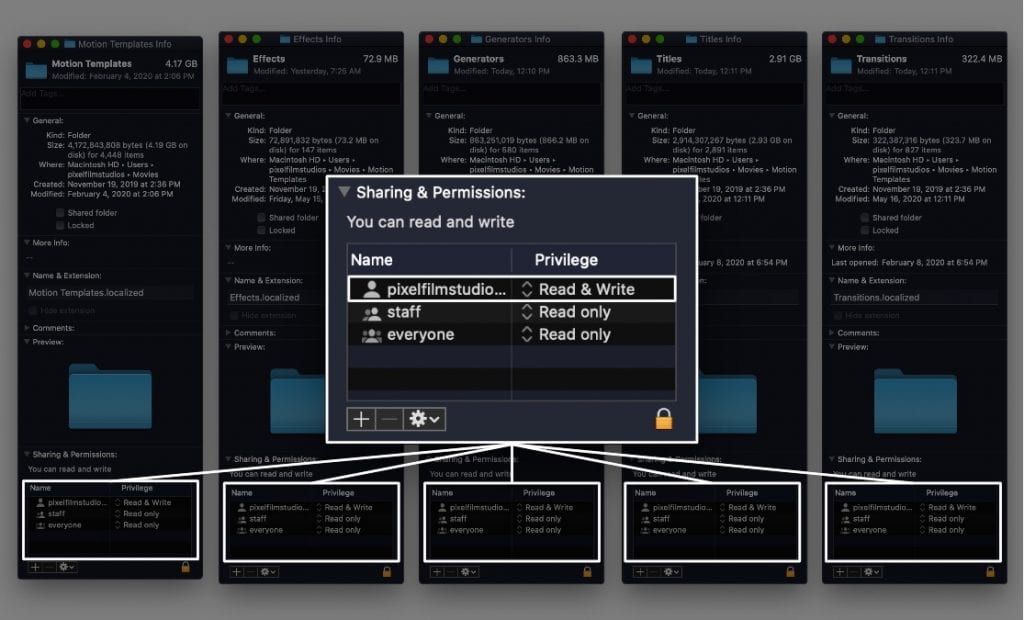
Solution 5
Verify Permissions
The Motion Templates folder and all folders included will need to have your Administrator’s read and write permissions on each of the following folders:
Motion Templates, Effects, Generators, Titles & Transitions
These folders are located under this directory:
Macintosh HD > Users > Your User > Movies > Motion Templates
Verify the permissions by right clicking on each folder and selecting Get Info. In the following window that opens up, scroll to the bottom and expand the Sharing & Permissions tab.
If your Administrator account is not added with Read & Write privileges, you can add this manually. Simply click the lock on the lower right side of the Get Info window and enter your administrator password to make changes. Then, press the plus icon to add your administrator and change the privileges to read and write. You will not have to alter any other permissions in this file path.
You will want to add your administrator to the Plug-Ins and FxPlug folders the same way you did for the Motion Templates. These folders can be found under the following directory:
Macintosh HD > Library > Plug-Ins > FxPlug
* Please note that in the example below our administrator name is pixelfilmstudios. Your admin name will be your main administrator on your computer.
Solution 6
Disable Firewalls, Anti-Virus, VPNs
Please confirm that your firewall, anti-virus software, and/or VPNs are disabled temporarily while running the installer. This can be turned back on after a successful installation of the software.
We 100% Guarantee the safety of the installer.
Solution 7
Alternate Installation
First, delete the plugin folder, “Pixel Film Studios – Name of Plugin,” from the Movies > Motion Templates folder from any of the Titles, Generators, Effects, Transitions folders the plugin is installed to.
Redownload the plugin from your account downloads on our website. In the plugin download folder right click on the “Double click to Install” icon and press show package contents in the menu that appears.
Follow the file path:
Contents > MacOS > Double Click to Install or DCtoInstall
Then double click DcToInstall to open the installer and terminal window. Please keep both of these windows open and proceed with installation. You will still need to enter your validation email and input your Mac’s username and password when prompted.
Once the Installation is complete, please note if the “Installation Complete” in the PFS installer window text is green or red. If it is red, run the installation once more as there may have been an interruption during installation. Once the installation is complete you can open FCPX to check the plugin.
- You may need to try this a second time if the installer is not responding the first try on this. Close the terminal (terminate the process) and then run the Double Click to Install or DCtoInstall from the MacOS folder once again.
* If you are still seeing the Red Screen after attempting each solution please submit a ticket or join our customer service live chat during business hours by clicking on the chat icon in the lower right corner of the site. Let us know what plugin you are installing so we can solve the issue as quickly as possible.